Well there certainly ain't been much sewing going on around here for a while.....
My last actual FO was waaaaay back in October last year when I made the
Belladone dress. Since then I've done quite a bit of knitting but not much else. Why?
Well here's why:
Yep, I'm only bleedin preggers inn-eye? (as they'd say on eastenders) Do you remember ages ago I said I hadn't been feeling well? That was because I was in the midst of being constantly nauseated, feeling very faint and just absolutely knackered. Oh the joys of pregnancy! At that point in time, it was all I could do to drag myself to work, try (and mainly fail) at doing my ward rounds and then come home and cry on the sofa. Not the best way to feel about something you wanted for ages, eh?
When I did start feeling better (about 4 months in) I was still fitting into most of my pre-pregnancy clothes. And so by the time they didn't fit (actually only a month ago; I'm now over 7 months) I thought there wasn't much point in making maternity clothes for the last few weeks.
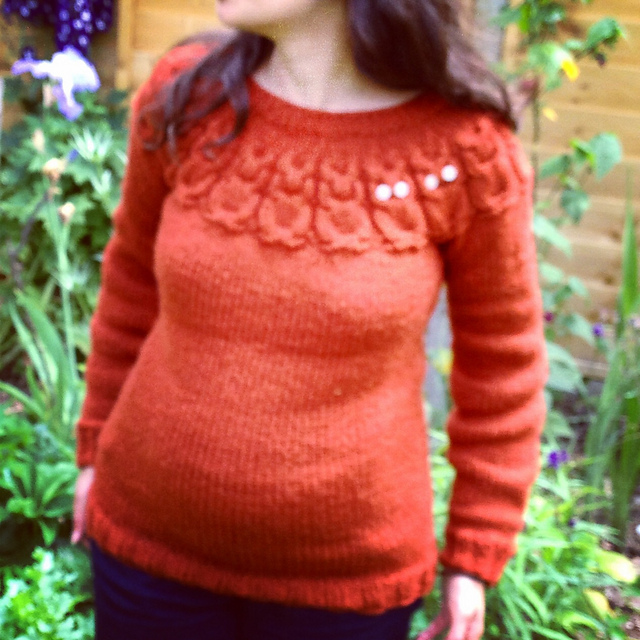
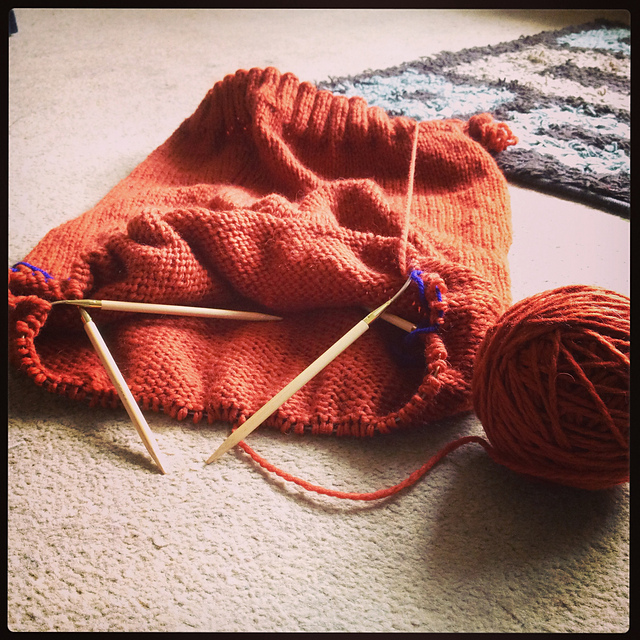
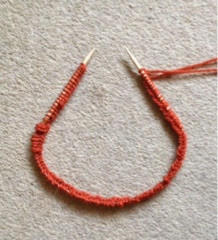
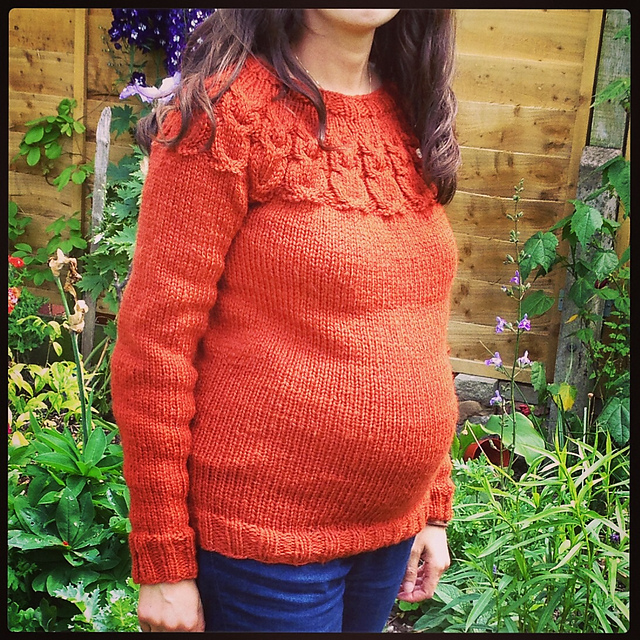
So instead I've been knitting. And I finally have the owls jumper to show for it, as part of the KAL run by me
Kat. I am SO proud of this! I chose rust coloured wool (after hankering after this colour for ages) - it's Cascade Eco + in cinnamon if anyone is interested, which is billed as a bulky yarn but actually I think it's more a thick worsted/Aran weight, and the pattern is the famous
owls by Kate Davies. I had to do some
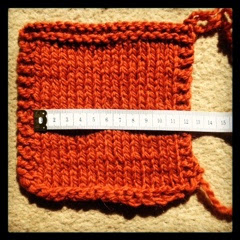
maths to work out what size to knit because of the difference in yarn weight from what was recommended in the pattern.
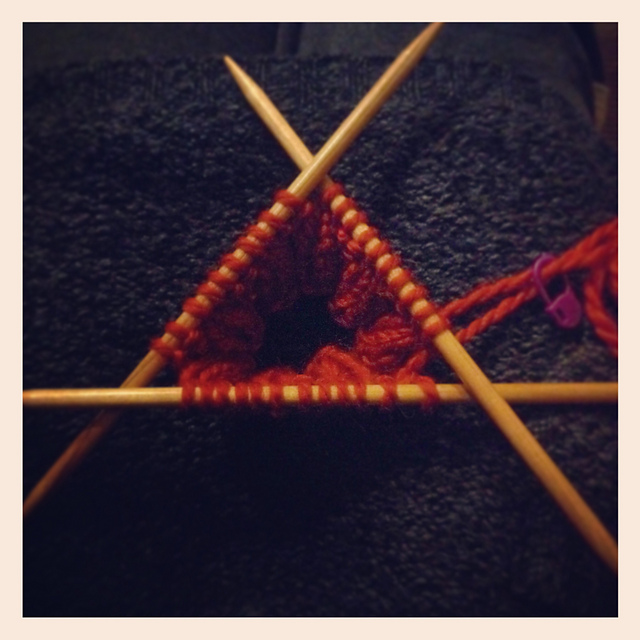
It was relatively easy to knit, and I learned a couple of new techniques too, namely cabling and short rows/wrap and turn. YouTube is fab for tutorials isn't it?!
The only changes I made was to make it a tad longer so I could wear it with jeans in the winter and to not bother sewing on 38 button for all the owl eyes. Instead I just put on 2 pairs. Oh and I steam blocked it rather than wet blocking (because I'm lazy as...)
The fit is perfect, it goes over my bump right now (I'm expecting the bump to get bigger in the next 8 weeks) but I hope that it will fit post pregnancy as well (and I can always try and shrink it a bit if it's too big right?!) I wore it yesterday for a little while in the boiling sunshine because I finished it and damn it I was wearing it no matter what the weather was like! But I quickly melted in this unusual English sunshine and had to revert to a t-shirt...
I've already seen that two of the other ladies in the KAL group (
Charlotte and
Sue) have finished their owls - check them out, they're fab! I'm really looking forward to seeing Kat and Alexa's finished articles too. I've really enjoyed knitting this (it took me 3 months, taking into account about 3 or 4 weeks where I couldn't get anything done due to moving house) and I've especially enjoyed sharing the process with my fellow KALers. I am so up for more KALs if anyone wants!!
It will probably go very quiet round these parts for the next few months while I waddle through the last 8 weeks of pregnancy and then try and come to terms with being a mummy. My next two projects are a knitted baby blanket and a patchwork quilt for the little one, but once things have settled down a bit and I'm back to my usual size (daddy is going to have to be on duty so I can take up running again...) I have plans to sew lots of dresses and use up some of that lovely fabric that has been sitting in my stash unloved for far too long!
So I'll say cheerio for now - and see you on the other side - eek!!